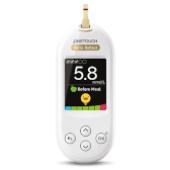
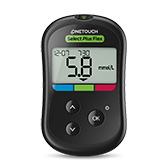
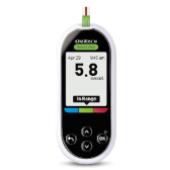
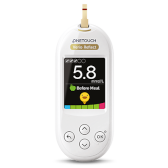
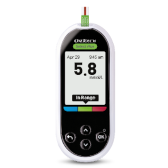
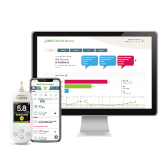
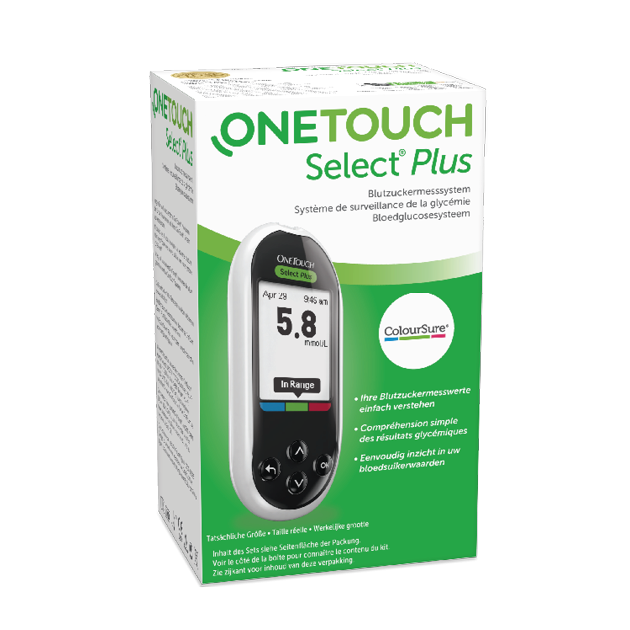
OneTouch Select® Plus meter
Just know when to act.
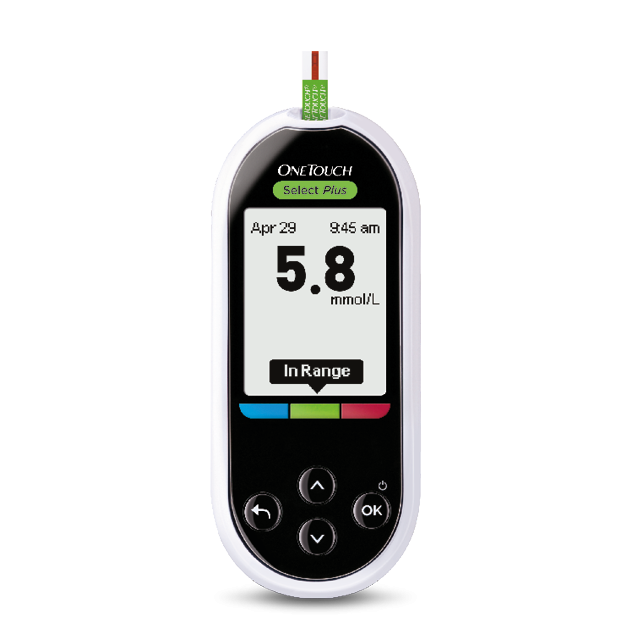
A range indicator note will appear below your result and will point to the appropriate range indicator color bar below the meter display
Simple 2-step testing
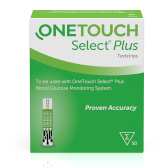
- Step 1: Insert a OneTouch Select® Plus test strip
- Step 2: Put blood drops on the test strip
- And that was it. With notifications and advice, you know how things are going with your blood sugar
Personalize your target area
If you have inserted a meal marker, the OneTouch Select® Plus Blood Glucose Meter will apply your individual range limits for the measurement before or after a meal to your result.
Accuracy You Can Trust
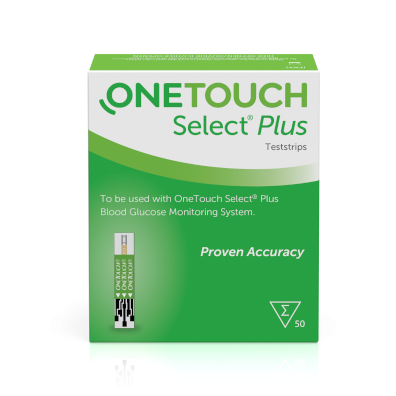
The OneTouch Select® Plus test strip - 5 years of proven accuracy
Be sure to talk to your doctor about which upper and lower range limits are right for you.

Frequently Asked Questions
Before using the OneTouch Select® Plus blood glucose meter to test your blood glucose level, carefully read the instructions for use and the package inserts for the various system components.
Press and hold ‘OK’ until the start-up test screen appears. Once the start-up screen is displayed, release ‘OK’. You can also turn the meter on by inserting a OneTouch Select Plus® test strip to perform a blood glucose test.
The meter stores your most recent 500 blood glucose and control solution test results and displays them in several ways.
From the Main Menu, press ∧ or ∨ to highlight Results Log and press ‘OK’. You can then scroll through the results by pressing ∧ or ∨.
Your OneTouch Select Plus® meter uses 2x CR2032 lithium batteries. Please do not use rechargeable batteries.
Your blood glucose meter uses upper and lower range limits to inform you when your blood glucose result is below, above, or within the range limits that you have set on the meter. * The blood glucose meter comes with preset range limits. You can change this on the recommendation of your doctor. If you have activated mealtime marking, you can also set lower and upper range limits for before and after meals.
*The lower and upper range limits that you set apply to all blood glucose test results. This includes measurements taken before or after meals, medication and in connection with other activities that can affect your blood sugar.
The general range limits that you set during initial setup will apply to all untagged glucose results unless mealtime flagging is turned on. The blood glucose meter also has a meal tagging feature to help you get blood glucose readings before and after a meal. If you enable mealtime marking, you can set additional lower and upper range limits for meals.
On the Settings screen, highlight Range to edit the general range limits, then press OK. Push ∧ and ∨ to set the upper and lower limit, respectively, and then press OK The message “Saved” appears to confirm that the displayed lower and upper range limit values are now saved in the blood glucose meter. To change the Meal Range Limits, first check the Settings screen to make sure Meal Tagging is turned on. Then, on the Settings screen, highlight Range, then press OK. Highlight Before Meal or After Meal and press ∧ and ∨ to set the range limits for before and after to change the meal. At the end of the process, the message “Saved” appears to confirm that the range limits displayed for before and after the meal are now saved in the meter.
Be sure to talk to your doctor about which lower and upper range limit values are right for you personally.
Need more answers not related to this specific product?
Learn more on the FAQ section of the website!
What's in the Box
OneTouch Select® Plus blood glucose meter (batteries included)
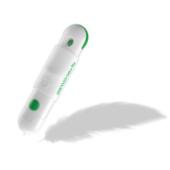
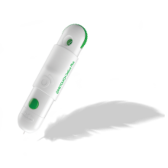
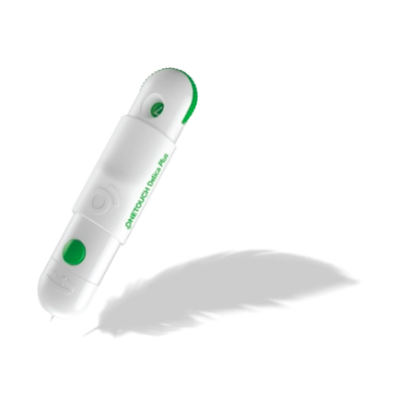
OneTouch® Delica® Plus lancing device
10 OneTouch® Delica® Plus sterile lancets
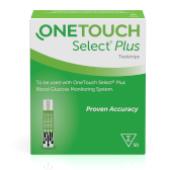
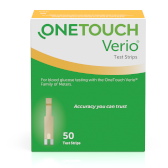
10 OneTouch Select® Plus test strips
Instructions for use
Quick Start Guide
Carry case
Related Products
DE-OSP-2100001(21-900)

